Have you ever wanted to have sensors scattered all around your house and garden reporting their temperature regularly to a central server? Then, this IoT project might be the solid launching point for you! This project uses ESP8266 NodeMCU as the control device that easily connects to existing WiFi network & creates a Web Server. When any connected device accesses this web server, ESP8266 NodeMCU reads in temperature & relative humidity from the DHT11, DHT22/AM2302 sensor & sends it to the web browser of that device with a nice interface. Excited? Let’s get started!
It may look intimidating, but there are a few concepts you should be familiar with, before venturing further into this tutorial. If any of the concepts below sound foreign to you, consider reading (at least skimming) through that tutorial first:
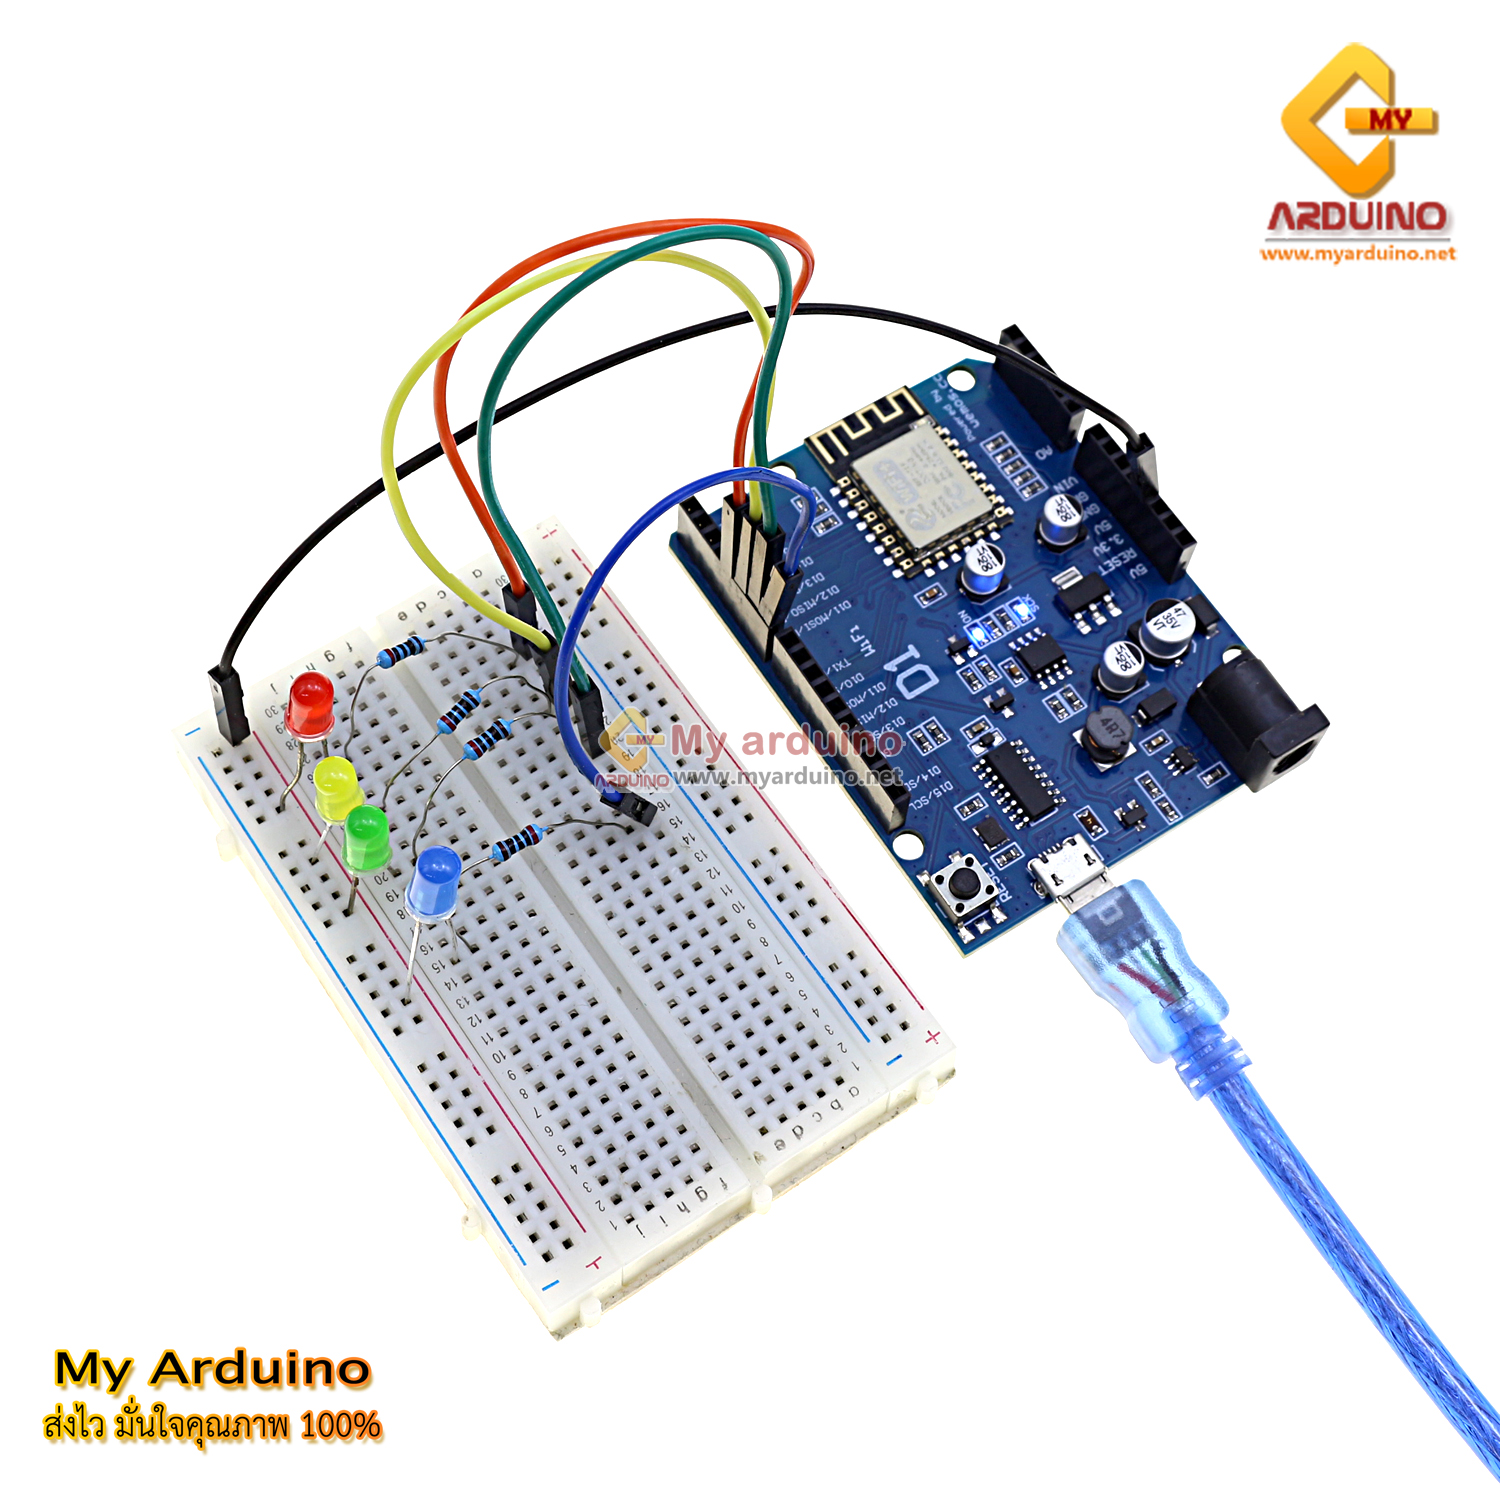
Wiring – Connecting DHT11, DHT22/AM2302 sensor to ESP8266 NodeMCU
Connecting DHT11/DHT22/AM2302 sensor to ESP8266 NodeMCU is fairly simple. Start by placing the NodeMCU on to your breadboard, ensuring each side of the board is on a separate side of the breadboard.
Now place the sensor on to your breadboard besides NodeMCU. Connect VCC pin on the sensor to the 3.3V pin on the NodeMCU and ground to ground. Also connect Data pin on the sensor to D8 pin of the ESP8266 NodeMCU. Finally, we need to place a pull-up resistor of 10KΩ between VCC and data line to keep it HIGH for proper communication between sensor and NodeMCU. If you happen to have a breakout board of the sensor, you need not add any external pull-up. It comes with a built-in pull-up resistor.
When you’re done you should have something that looks similar to the illustration shown below.


Wiring DHT22 Temperature Humidity Sensor with ESP8266 NodeMCU
Installing DHT Sensor Library
Communicating with DHT11, DHT22/AM2302 sensors is a bunch of work, as they have their own single wire protocol for data transfer. And this protocol requires precise timing. Fortunately, we don’t have to worry much about this because we are going to use the DHT library from Adafruit which takes care of almost everything. The library is so powerful that it runs on both Arduino and ESP architecture.
To install the library navigate to the Sketch > Include Library > Manage Libraries… Wait for Library Manager to download libraries index and update list of installed libraries.

Filter your search by typing ‘DHT sensor’. There should be a couple entries. Look for DHT sensor library by Adafruit. Click on that entry, and then select Install.

The DHT sensor library uses the Adafruit Sensor support backend. So, search the library manager for Adafruit Unified Sensor and install that too (you may have to scroll a bit)
Create ESP8266 NodeMCU Web Server using WiFi Station (STA) mode
Now let’s move on to the interesting stuff!
As the heading suggests, we are going to configure our ESP8266 NodeMCU into Station (STA) mode, and create a web server to serve up web pages to any connected client under existing network.
Before you head for uploading the sketch, you need to make one change to make it work for you. You need to modify the following two variables with your network credentials, so that ESP8266 NodeMCU can establish a connection with existing network.
const char* ssid = "YourNetworkName";  // Enter SSID here
const char* password = "YourPassword";  //Enter Password here
Once you are done, go ahead and try the sketch out and then we will dissect it in some detail.
/*
 * Sketch: ESP8266_Part8_01_AutoUpdate_HTML
 * Intended to be run on an ESP8266
 */

String header = "HTTP/1.1 200 OK\r\nContent-Type: text/html\r\n\r\n";

String html_1 = R"=====(
<!DOCTYPE html>
<html>
 <head>
 <meta name='viewport' content='width=device-width, initial-scale=1.0'/>
 <meta charset='utf-8'>
 <meta http-equiv='refresh' content='5'>
 <style>
   body {font-size:100%;}
   #main {display: table; margin: auto;  padding: 0 10px 0 10px; }
   h2 {text-align:center; }
   p { text-align:center; }
 </style>
   <title>Smart Farm RMUTI</title>
 </head>

 <body>
   <div id='main'>
   <img src="http://smartfarm.rmuti.net/wp-content/uploads/2021/09/greenhouse1.jpg" alt="Girl in a jacket" width="300" height="200">
     <h2>โรงเรือนที่ #1</h2>
     <div id='count'>
       <p>เวลาที่ = %count%</p>
       <p>อุณหภูมิ = %Temperature%</p>
       <p>ความชื้น = %Humidity%</p>
     </div>
   </div>
 </body>
</html>
)=====";

#include <ESP8266WiFi.h>
 #include "DHT.h"

// Uncomment one of the lines below for whatever DHT sensor type you're using!
//#define DHTTYPE DHT11   // DHT 11
//#define DHTTYPE DHT21   // DHT 21 (AM2301)
#define DHTTYPE DHT22   // DHT 22  (AM2302), AM2321

// change these values to match your network
char ssid[] = "i-Enterprise 2.4 G";       //  your network SSID (name)
char pass[] = "12345678";          //  your network password

WiFiServer server(80);

String tmpString = "";
unsigned int count = 0;

 // DHT Sensor
uint8_t DHTPin = D1;

// Initialize DHT sensor.
DHT dht(DHTPin, DHTTYPE);

float Temperature;
float Humidity;

void setup()
{
    Serial.begin(115200);
    Serial.println();
    Serial.println("Serial started at 115200");
    Serial.println();

    // Connect to a WiFi network
    Serial.print(F("Connecting to "));  Serial.println(ssid);
    WiFi.begin(ssid, pass);

    while (WiFi.status() != WL_CONNECTED)
    {
        Serial.print(".");
        delay(500);
    }

    Serial.println("");
    Serial.println(F("[CONNECTED]"));
    Serial.print("[IP ");
    Serial.print(WiFi.localIP());
    Serial.println("]");

    // start a server
    server.begin();
    Serial.println("Server started");
 Temperature = dht.readTemperature(); // Gets the values of the temperature
  Humidity = dht.readHumidity();
} // void setup()

void loop()
{
    // Check if a client has connected
    WiFiClient client = server.available();
    if (!client)  {  return;  }

    count ++;

    tmpString = html_1;
    tmpString.replace("%count%", String(count) );
 tmpString.replace("%Temperature%", String(Temperature) );
 tmpString.replace("%Humidity%", String(Humidity) );
    client.flush();
    client.print( header );
    client.print( tmpString );

    Serial.print("count = "); Serial.println(count);
 Serial.print("Temperature = ");
  Serial.println(Temperature);
  Serial.print("Humidity = ");
  Serial.println(Humidity);

    delay(5);


  // The client will actually be disconnected when the function returns and 'client' object is destroyed
} // void loop()
Accessing the Web Server
After uploading the sketch, open the Serial Monitor at a baud rate of 115200. And press the RESET button on the NodeMCU. If everything is OK, it will output the dynamic IP address obtained from your router and show HTTP server started message.

Next, load up a browser and point it to the IP address shown on the serial monitor. The ESP8266 NodeMCU should serve up a web page showing temperature and relative humidity.

link:https://lastminuteengineers.com/esp8266-dht11-dht22-web-server-tutorial/