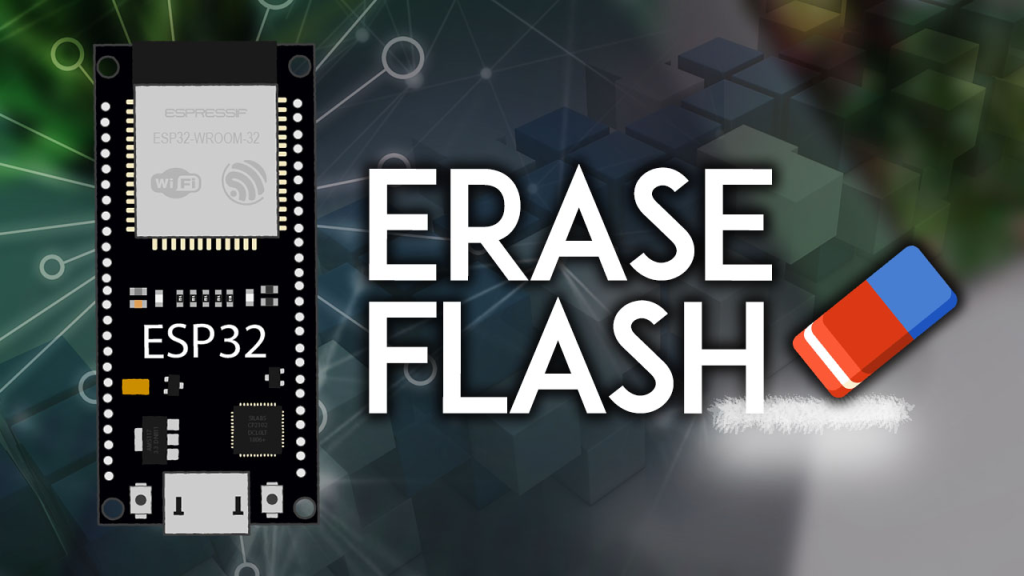
This is a quick guide showing how to erase the ESP32 flash memory to restore it to its original state. This might be useful if you want to delete any changes made to the firmware or configuration settings; if the system is crashing constantly and you can’t upload new code; to clear data that is no longer needed, and other applications. We’ll use a tool called esptool.

Installing esptool.py
To perform an ESP32 factory reset, we’ll use esptool, which is “a Python-based, open-source, platform-independent utility to communicate with the ROM bootloader in Espressif chips.“
To install esptool, you need Python 3.7 or newer installed on your system. You can download and install Python at the following link (make sure you download the right package for your system):
With Python 3 installed, open a Terminal window and install the latest stable esptool.py release with pip:
pip install esptoolNote: with some Python installations that command may not work and you’ll receive an error. If that’s the case, try to install esptool.py with:
- pip3 install esptool
- python -m pip install esptool
- pip2 install esptool
Setuptools is also a requirement that is not available on all systems by default. You can install it with the following command:
pip install setuptoolsAfter installing, you will have esptool.py installed into the default Python executables directory and you should be able to run it with the command esptool. In your Terminal window, run the following command:
python -m esptoolIf it was installed properly, it should display a similar message (regardless of your operating system):

Erasing the ESP32 Flash
Follow the next steps to erase the ESP32 flash:
1) Connect the ESP32 to your computer;
2) Open a Terminal window on your computer;
3) Hold the ESP32 BOOT button;

4) Copy the following command to your terminal window and press Enter (continue holding the BOOT button).python -m esptool –chip esp32 erase_flash
5) When the “Erasing” process begins, you can release the “BOOT/FLASH” button. After a few seconds, the ESP32 flash memory will be erased.

Note: if after the “Connecting …” message you keep seeing new dots appearing, it means that your ESP32 is not in flashing mode. You need to repeat all the steps described earlier and hold the “BOOT/FLASH” button again to ensure that your ESP32 goes into flashing mode and completes the erasing process successfully.
Troubleshooting
If you encounter a permission error while trying to run the esptool command, open the command prompt as a administrator (or as sudo on Linux).

Wrapping Up
This was a quick guide showing you how to erase the ESP32 flash to perform a factory reset. We hope this tutorial is useful.
If you’re using an ESP8266 board, you can follow the instructions in the following tutorial:
If you would like to learn more about the ESP32 board and IoT, make sure you take a look at our resources:
- Learn ESP32 with Arduino IDE
- Build Web Servers with ESP32 and ESP8266
- Firebase Web App with ESP32 and ESP8266
- Free ESP32 Projects and Tutorials
link:https://randomnerdtutorials.com/esp32-erase-flash-memory/
python -m esptool --chip esp32 --port COM9 --baud 115200 --after hard_reset erase_flash

python -m esptool --port COM9 write_flash_status --non-volatile 0

python -m esptool --port COM9 erase_flash