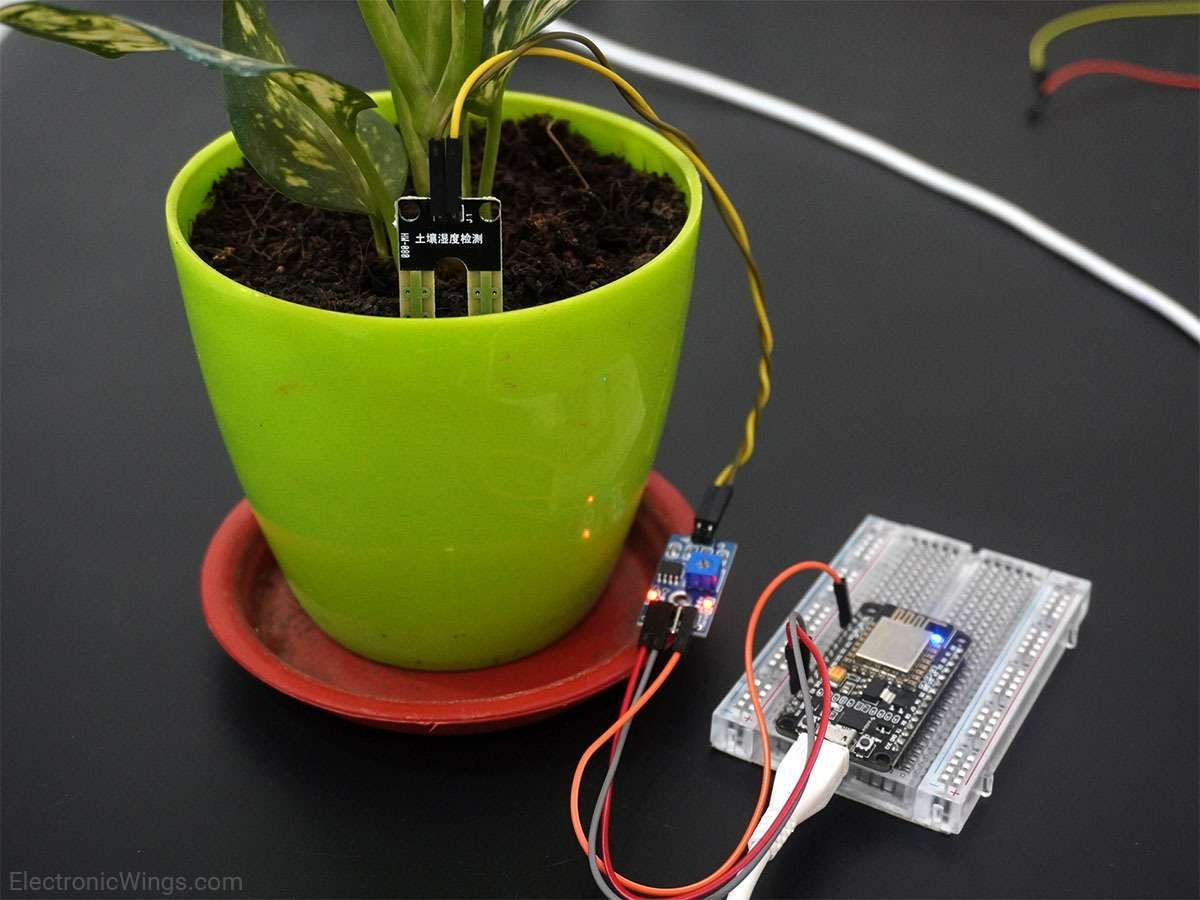
Overview of Soil Moisture Sensor
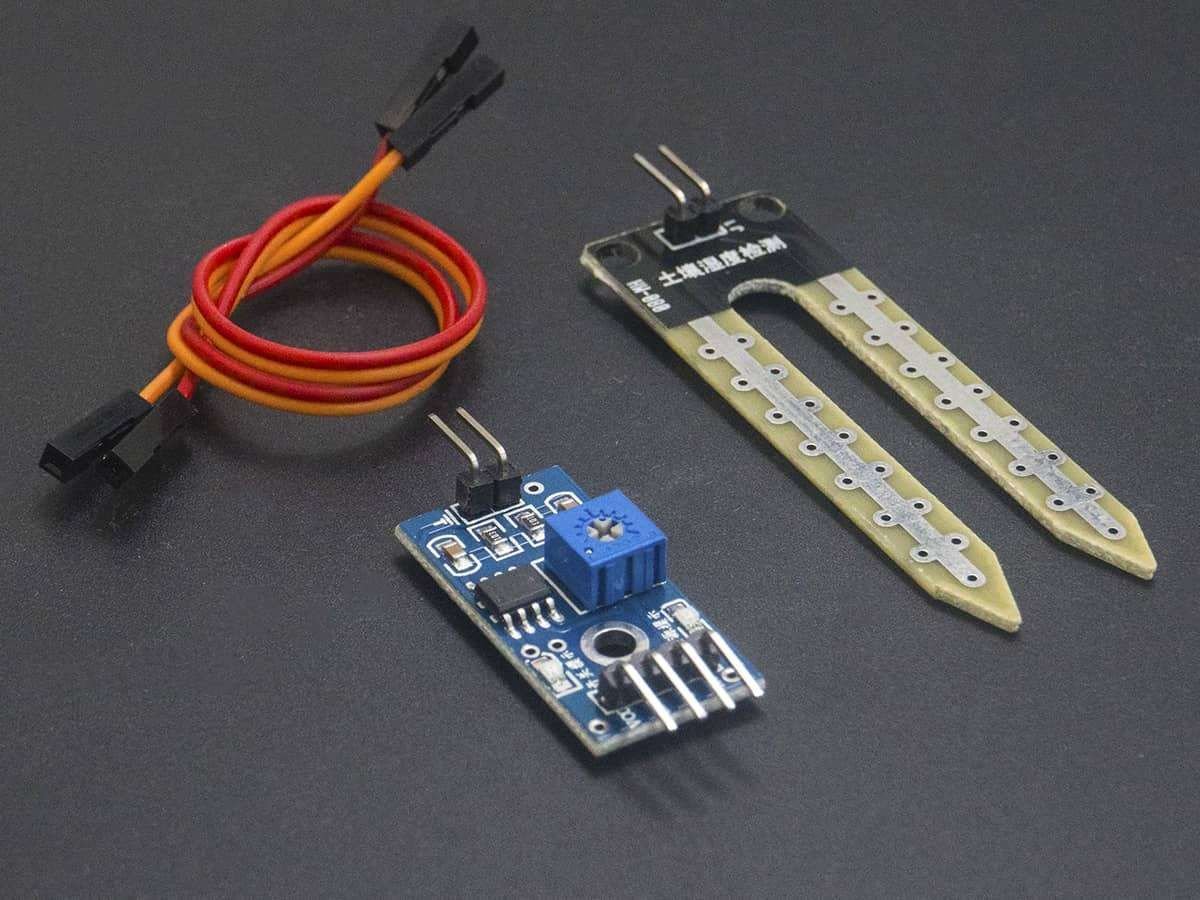
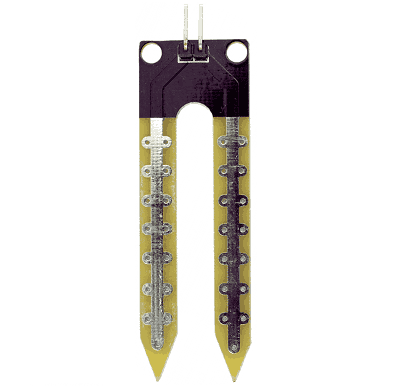
Soil moisture is basically the content of water present in the soil. This can be measured using a soil moisture sensor which consists of two conducting probes that act as a probe. It can measure the moisture content in the soil based on the change in resistance between the two conducting plates.
The resistance between the two conducting plates varies in an inverse manner with the amount of moisture present in the soil.
For more information about soil moisture sensor and how to use it, refer to the topic Soil Moisture Sensor in the sensors and modules section.
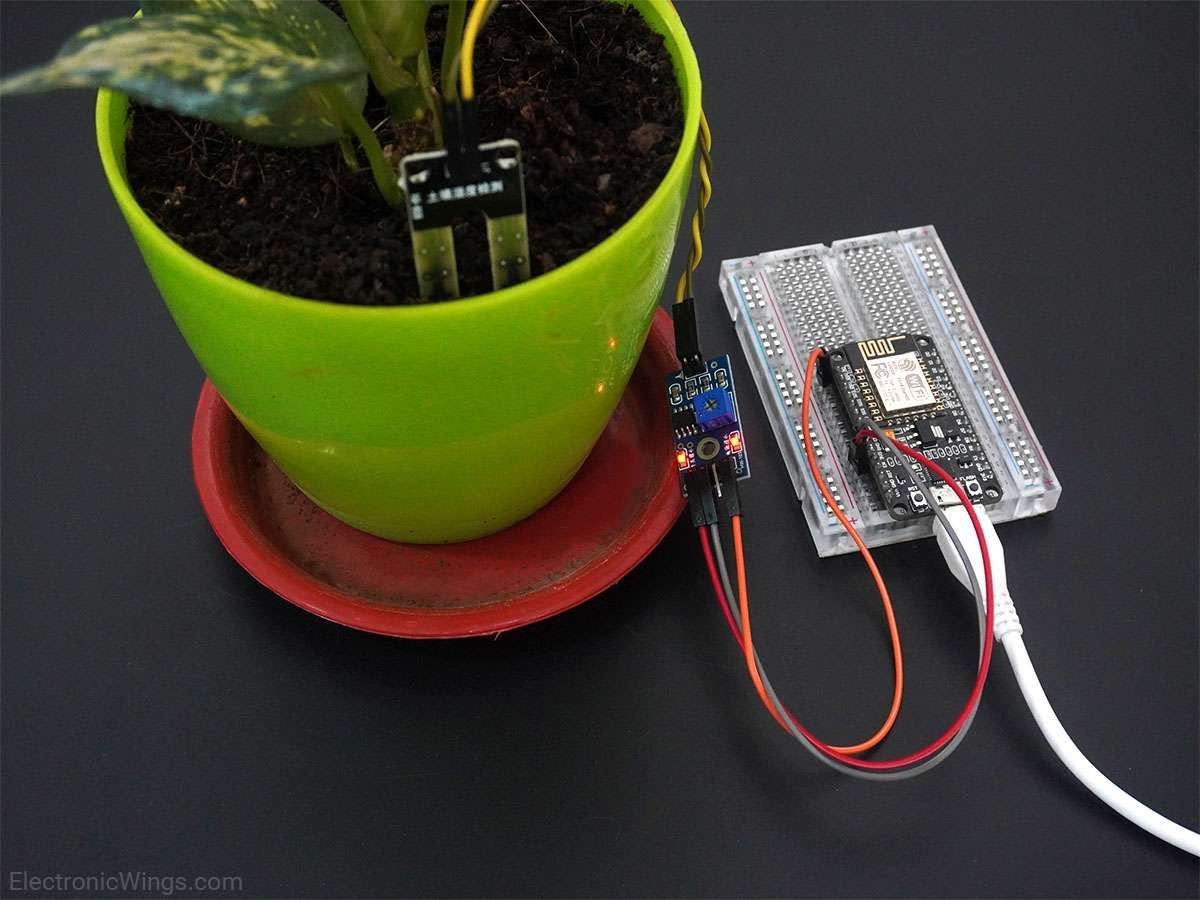
Connection Diagram of Soil Moisture Sensor with NodeMCU
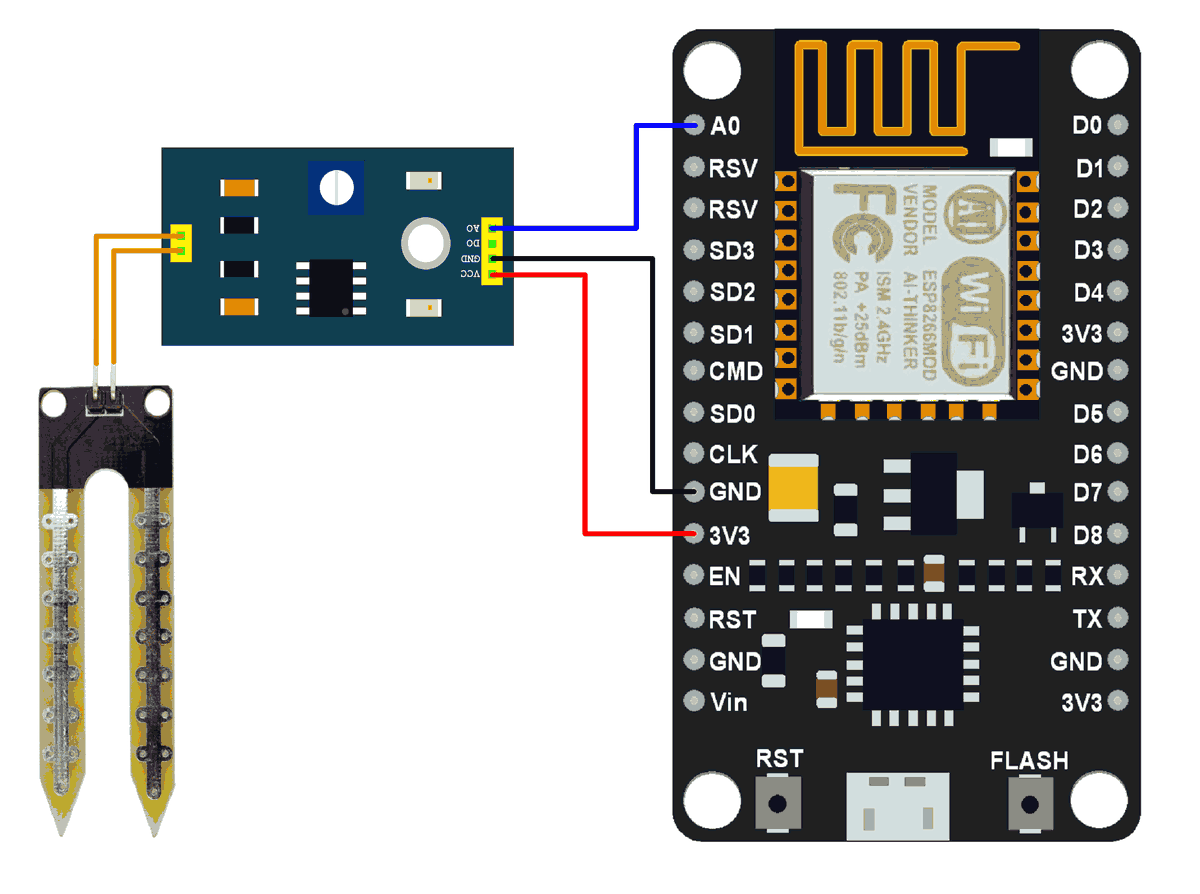
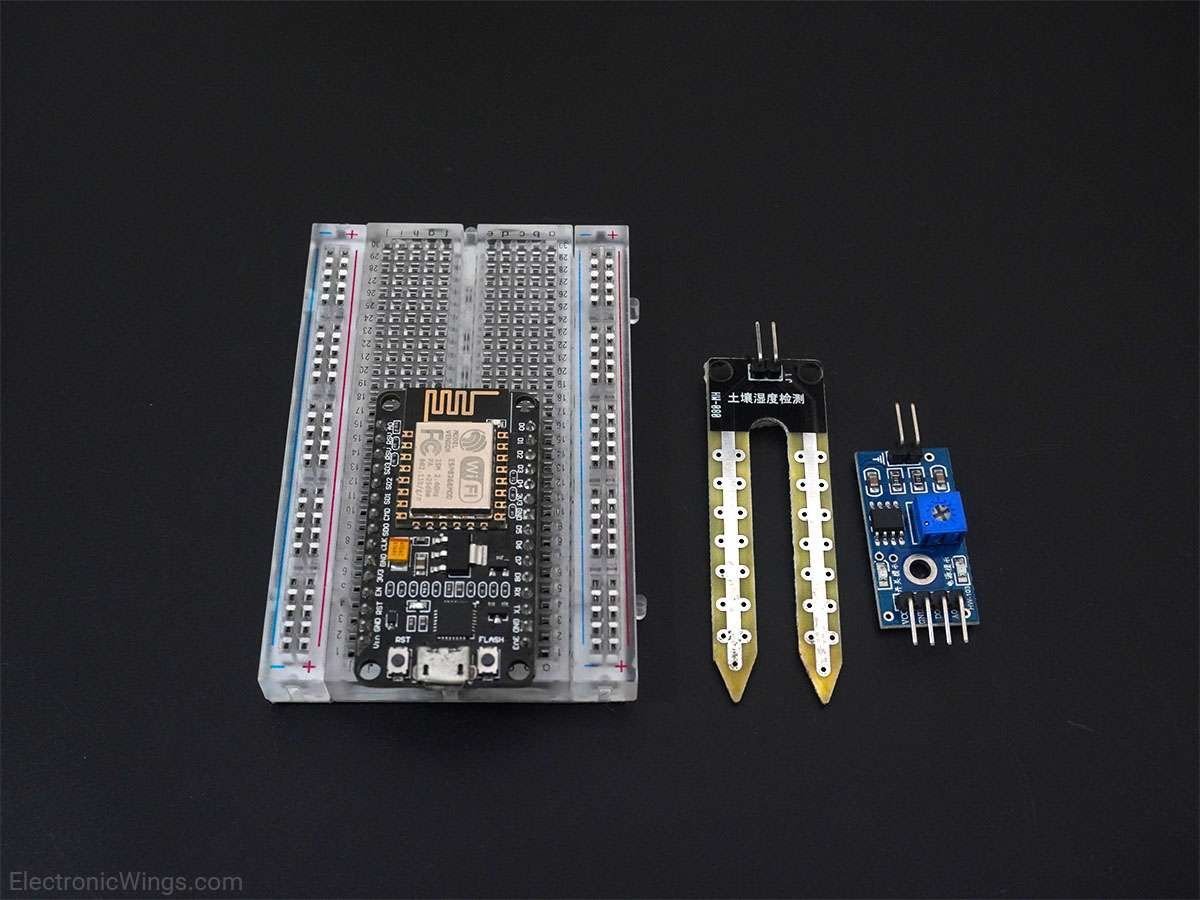
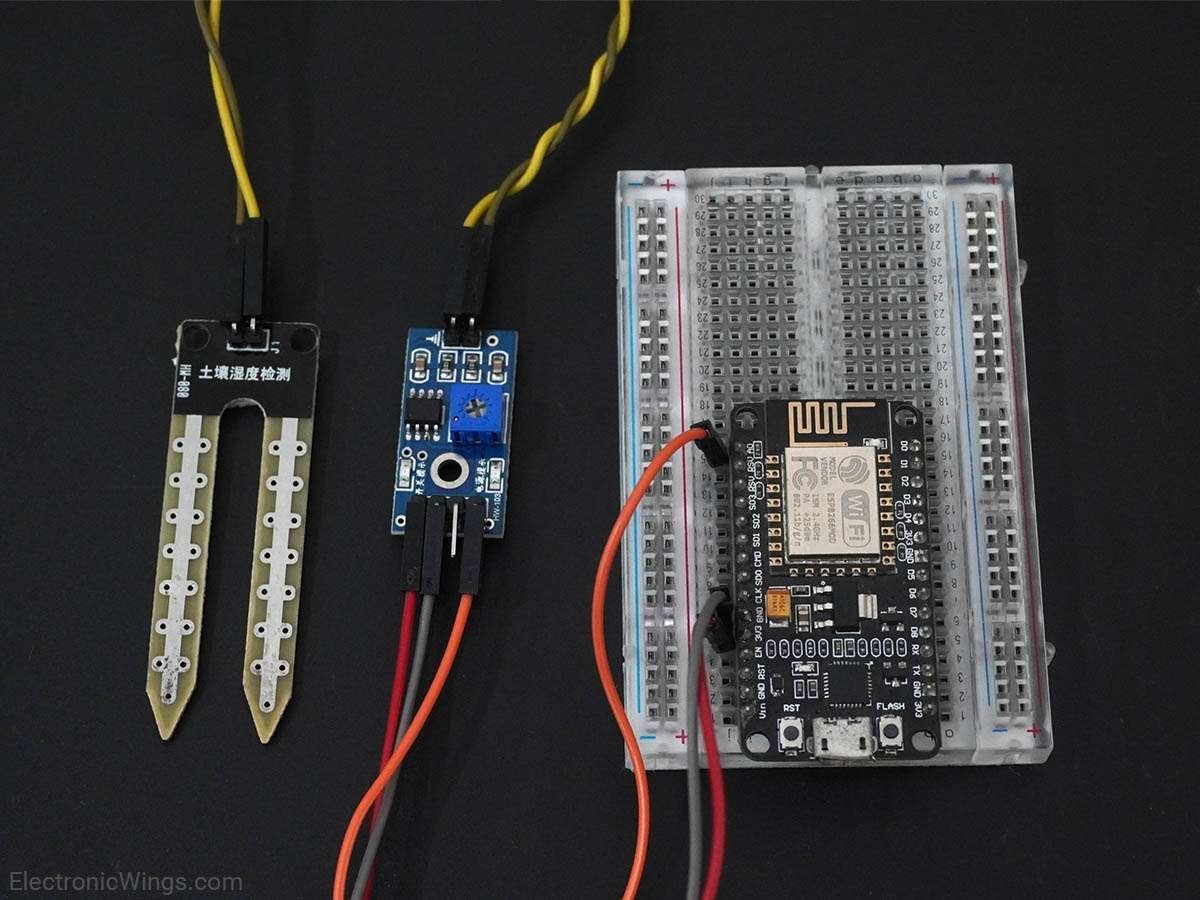
Measure Soil Moisture using NodeMCU
Measuring soil moisture in terms of percentage.
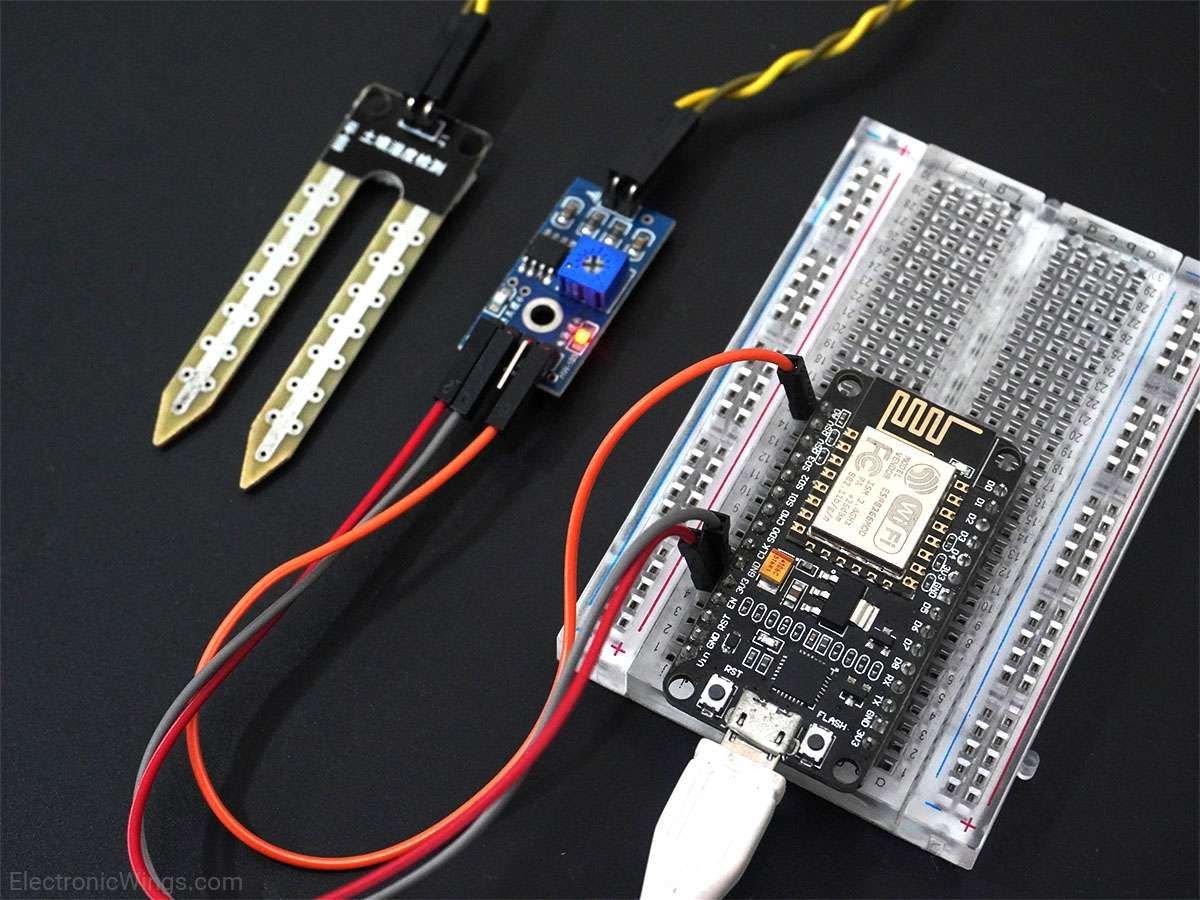
Here, the analog output of the soil moisture sensor is processed using ADC. The moisture content in terms of percentage is displayed on the serial monitor.
The output of the soil moisture sensor changes in the range of ADC values from 0 to 1023. This can be represented as moisture value in terms of percentage using the formula given below.
Analog Output = ADC Value / 1023
Moisture in percentage = 100 – (Analog output * 100)
For zero moisture, we get the maximum value of 10-bit ADC, i.e. 1023. This in turn gives ~0% moisture.
NodeMCU ADC can be used to measure analog voltage from the soil moisture sensor. To know about ADC of NodeMCU refer to NodeMCU ADC with ESPlorer IDE and NodeMCU ADC with Arduino IDE.
We can write codes for NodeMCU Dev Kit in either Lua Script or C/C++ language. We are using ESPlorer IDE for writing Lua scripts and Arduino IDE for writing code in C/C++. To know more refer to Getting started with NodeMCU using ESPlorer IDE (which uses Lua scripting for NodeMCU) and Getting started with NodeMCU using Arduino IDE (which uses C language-based Arduino sketches for NodeMCU).
Let’s write Lua script for NodeMCU to measure Soil Moisture using ADC on it.
Lua Script for Soil Moisture
sensor_pin = 0;  --Connect Soil moisture analog sensor pin to A0 of NodeMCU

while true do
  local moisture_percentage = ( 100.00 - ( (adc.read(sensor_pin)/1023.00) * 100.00 ) )
  print(string.format("Soil Moisture(in Percentage) = %0.4g",moisture_percentage),"%")
  tmr.delay(100000);
end
ESPlorer Serial Output Window
ESPlorer Serial monitor output window for Soil Moisture
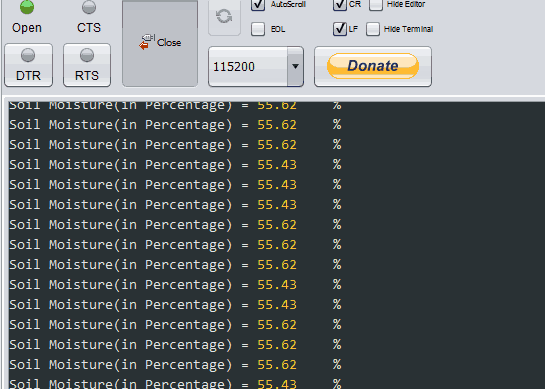
Now let’s write a program of Soil Moisture for NodeMCU using Arduino IDE
Soil Moisture Sensor Code for NodeMCU using Arduino IDE
const int sensor_pin = A0;  /* Connect Soil moisture analog sensor pin to A0 of NodeMCU */

void setup() {
  Serial.begin(9600); /* Define baud rate for serial communication */
}

void loop() {
  float moisture_percentage;

  moisture_percentage = ( 100.00 - ( (analogRead(sensor_pin)/1023.00) * 100.00 ) );

  Serial.print("Soil Moisture(in Percentage) = ");
  Serial.print(moisture_percentage);
  Serial.println("%");

  delay(1000);
}
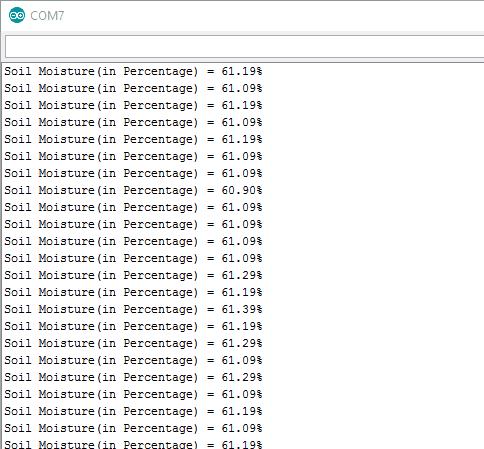
Arduino Serial Output Window
Arduino Serial monitor output window for Soil Moisture
https://www.electronicwings.com/
int ledPin = D0;
int ledPin3 = D1;
int analogPin = A0; //ประกาศตัวแปร ให้ analogPin แทนขา analog ขาที่5
int val = 0;
void setup() {
  pinMode(ledPin, OUTPUT);  // sets the pin as output
  pinMode(ledPin3, OUTPUT);  // sets the pin as output
  Serial.begin(9600);
}

void loop() {
  val = analogRead(analogPin);  //อ่านค่าสัญญาณ analog ขา5 ที่ต่อกับ Soil Moisture Sensor Module v1
  Serial.print("val = "); // พิมพ์ข้อมความส่งเข้าคอมพิวเตอร์ "val = "
  Serial.println(val); // พิมพ์ค่าของตัวแปร val
  if (val > 500) {
    digitalWrite(ledPin, LOW); // สั่งให้ LED ที่ Pin2 ดับ
    digitalWrite(ledPin3, HIGH); // สั่งให้ LED ที่ Pin3 ติดสว่าง
  }
  else {
    digitalWrite(ledPin, HIGH); // สั่งให้ LED ที่ Pin2 ติดสว่าง
    digitalWrite(ledPin3, LOW); // สั่งให้ LED ที่ Pin3 ดับ
  }
  delay(100);
}


